New in AnnotateShot: Faster Screenshot Feedback for Product Teams
Recent updates make it easier to capture a screen, highlight the right detail, and send a clearer message without opening a heavy design tool.
When product work moves quickly, screenshots become the fastest language in the room. A PM reports a UI issue. QA explains a failed state. A designer asks for a small layout change. Support shows a customer where to click. In all of those moments, the question is not "Can I annotate an image?" The real question is: "Can I make the next action obvious?"
AnnotateShot was built for that moment. The latest 4.x updates add more control to the same lightweight workflow: capture or paste a screenshot, mark what matters, adjust the output, and share a clean image.
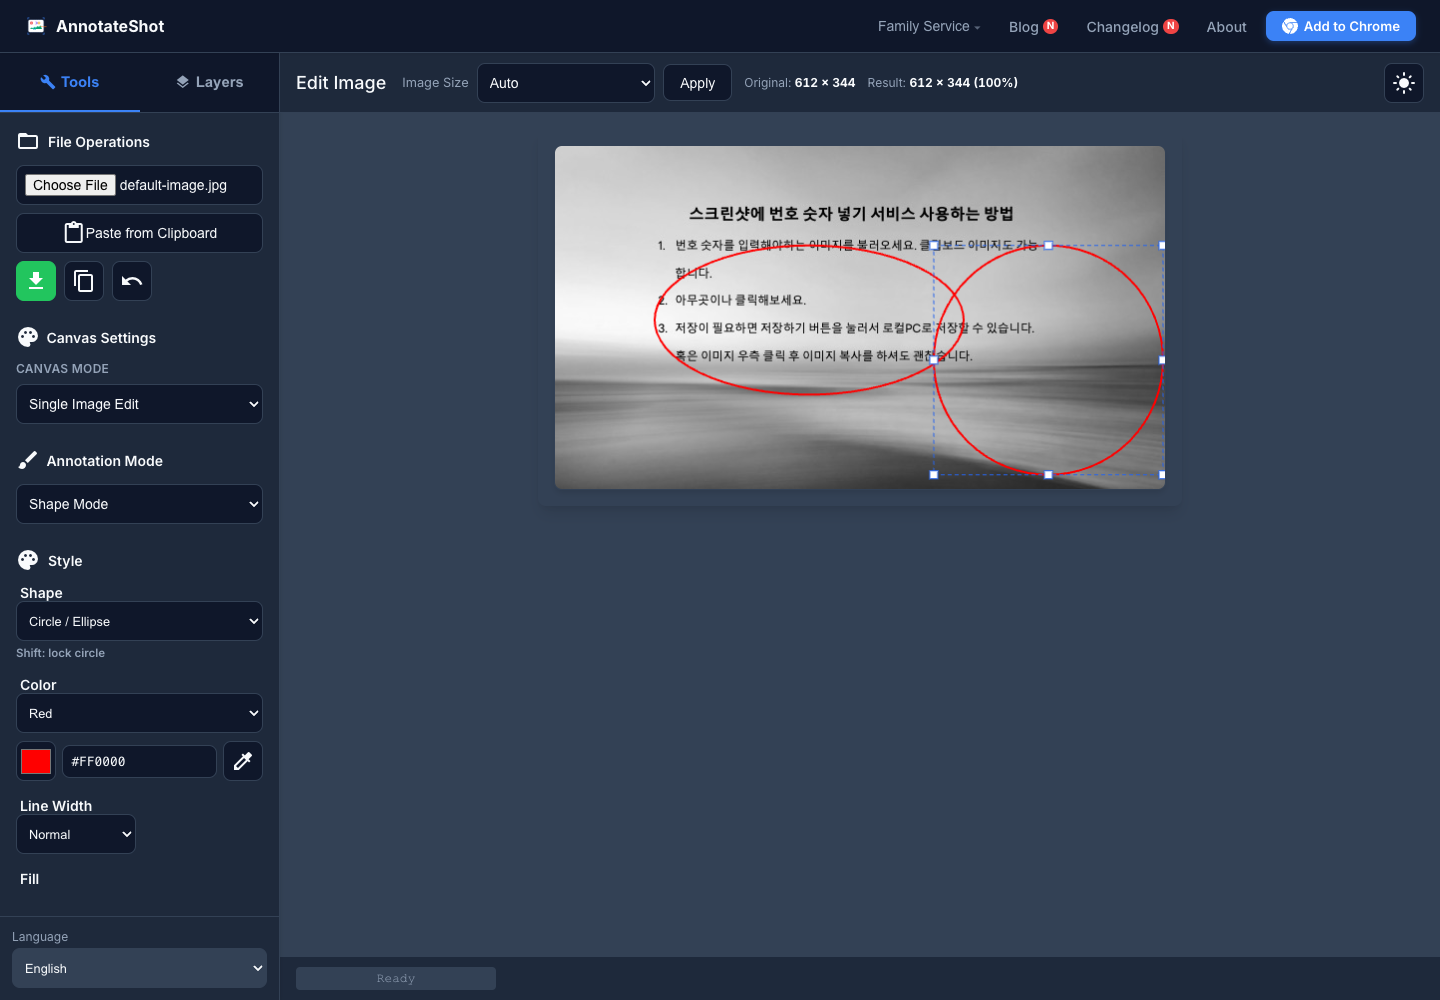
Draw Attention With Editable Shapes
Shape annotations are now more flexible. You can draw rectangles, circles, and freeform ellipses to highlight the exact part of a screenshot that needs attention. After placing a shape, select it and use the resize handles to adjust the callout instead of deleting and redrawing it.
This is useful when reviewing dense product screens. Draw an ellipse around a button group, resize it until the focus feels right, then send the screenshot as a clear review note. If you need a perfect circle, hold Shift while drawing. If you are resizing a shape and want to keep its proportions, hold Shift while resizing.
Good for: UI reviews, bug reports, design QA, release note screenshots, and product documentation images where the callout needs to look intentional.
Use Magnifier And Spotlight For Small Details
Some issues are too small for a simple box. A label might be misaligned, an icon might be unclear, or a tiny setting might be hard to find. Magnifier mode lets you enlarge a specific area while keeping the rest of the screen visible. Spotlight mode darkens the surrounding area so the reader immediately understands where to look.
Use magnifier when the detail is small but the surrounding context still matters. Use spotlight when you want to guide someone's attention without cropping the screenshot.
Good for: QA handoffs, customer support replies, onboarding guides, and documentation where a small control needs extra clarity.
Show The Interaction, Not Just The Location
Cursor annotations help explain what the user should do next. Instead of saying "click the menu in the top right," place a cursor marker on the exact target. Combined with numbered annotations, you can turn a static screenshot into a simple step-by-step instruction.
For product and support teams, this reduces the back-and-forth that usually follows vague screenshots. The reader sees both the target and the sequence.
Good for: support macros, internal SOPs, feature walkthroughs, and bug reproduction steps.
Resize The Final Image Before Sharing
A screenshot that is too large can be awkward to paste into chat, docs, or issue trackers. A screenshot that is too small can hide the important detail. AnnotateShot now gives you clearer image resize controls: Auto, fit to width, fit to height, fit to screen, original size, and custom dimensions.
When you choose a custom size, you can use the slider for quick adjustment or enter exact width and height values. If annotations already exist, AnnotateShot asks before applying a resize that would reset them, so you do not accidentally lose work.
Good for: release notes, help center articles, GitHub issues, Slack threads, and any workflow where the final image needs to fit a specific space.
Capture From Chrome And Keep The Details Sharp
The Chrome extension shortens the path from a web page to an annotated screenshot. Capture the current view, select a partial area, or grab a full page, then open it directly in AnnotateShot for markup.
Recent updates also improved capture fidelity. High-resolution browser screenshots keep their original pixels for export while still fitting comfortably inside the editor, so details stay sharp when the final image matters.
Good for: web QA, product reviews, live-site feedback, and documenting issues directly from the browser.
Five Everyday Ways To Use The New Workflow
- Bug report: Capture the broken state, number the reproduction order, circle the faulty component, and add a cursor marker to show the exact click target.
- UI review: Use a rectangle for layout regions, an ellipse for visual focus, and
Shiftwhen you need a clean circle or consistent shape proportions. - QA handoff: Use spotlight mode to isolate a failed state without removing surrounding context.
- Support reply: Add a magnifier to a small control, resize the final image to a clean width, and send one image instead of a long explanation.
- Release documentation: Create consistent screenshots by resizing callouts after placement and exporting at the exact size your docs need.
Why This Matters
Clear screenshots reduce clarification loops. They help developers understand bug reports faster, help designers see the intended feedback, help support teams answer with fewer words, and help product managers turn visual observations into actionable next steps.
AnnotateShot is not trying to replace full design suites or project management systems. It is the quick layer between "I found something" and "Here is exactly what I mean."
AnnotateShot helps product teams turn screenshots into clear visual instructions in seconds.